写在前面
博客源码包括两个主题icarus和next,在主题基础之上参照各网友博客,以及自己的一些想法做出的一些修改以及增加部分新元素。 以下是修改后的需要的部分配置,其余的配置参照icarus主题配置和next主题配置。
因为修改了原作者源码,有什么问题请先联系我,不要去麻烦原作者了,能自己解决的问题就不要麻烦别人了,每个人的时间都很宝贵。
膜拜和感谢所有模块的原作者,orz👻,辛苦了。
欢迎围观:博客+主题源码、纯主题源码、博客+主题源码 Live Demo
一、icarus主题之上主要改动
- 新增gitalk最新评论widget
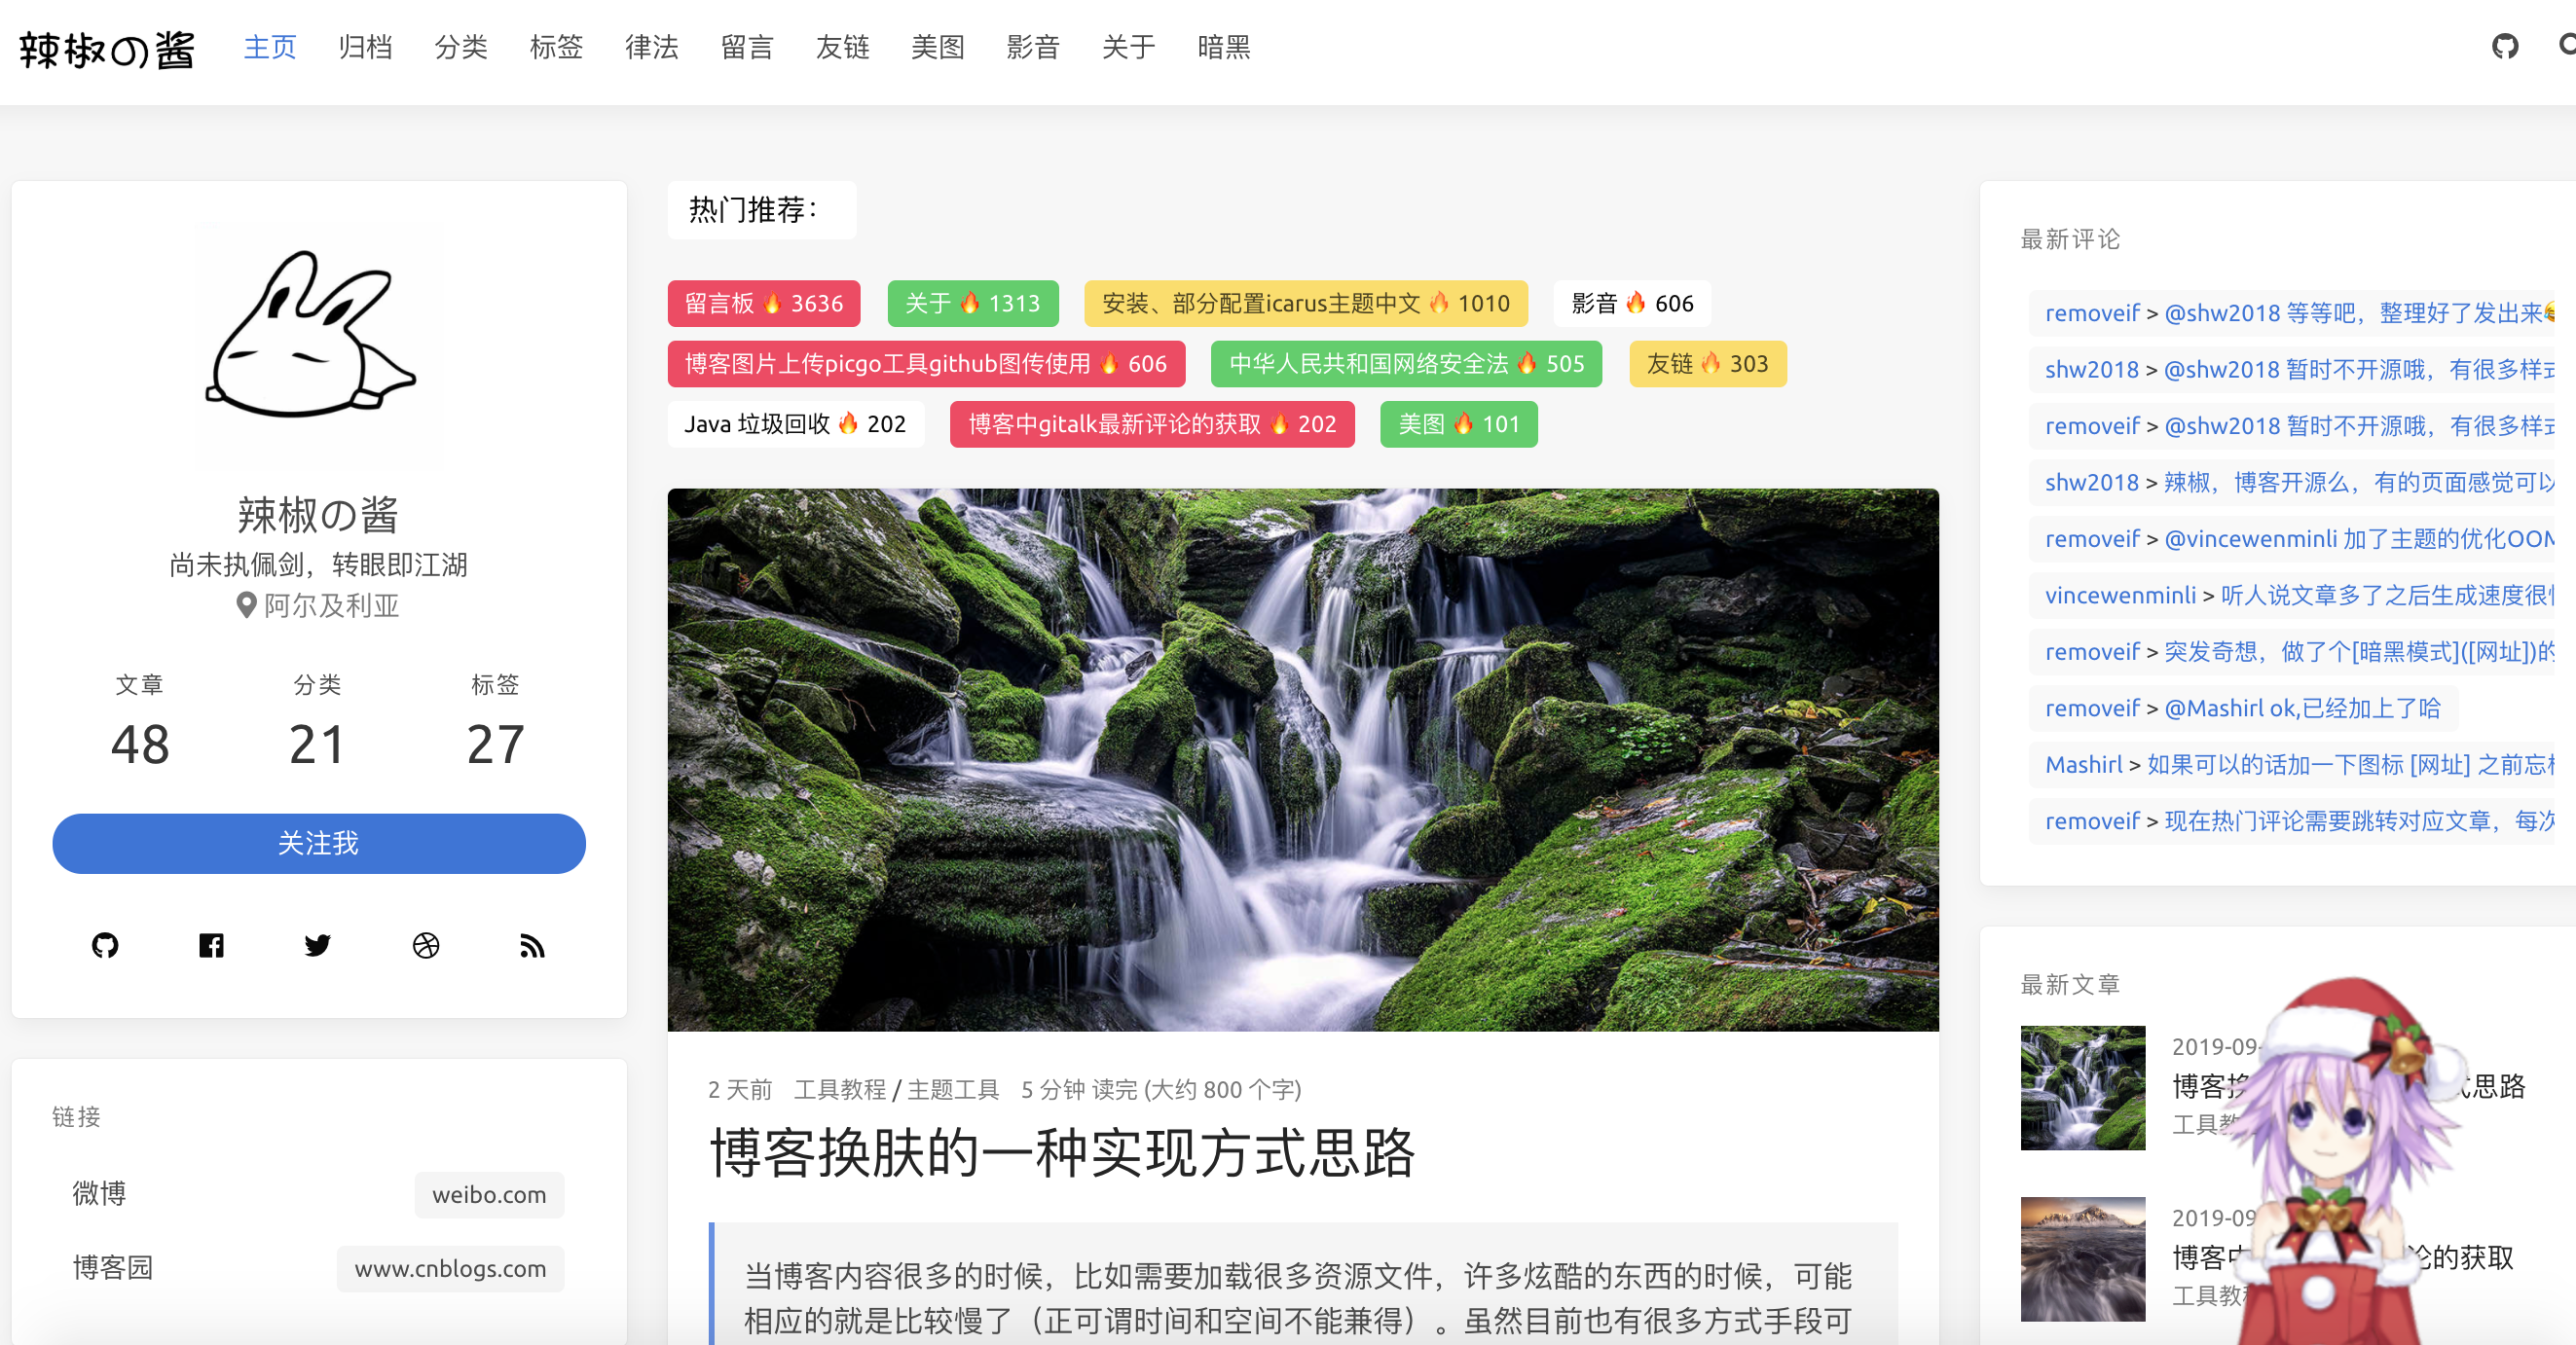
- 首页增加热门推荐
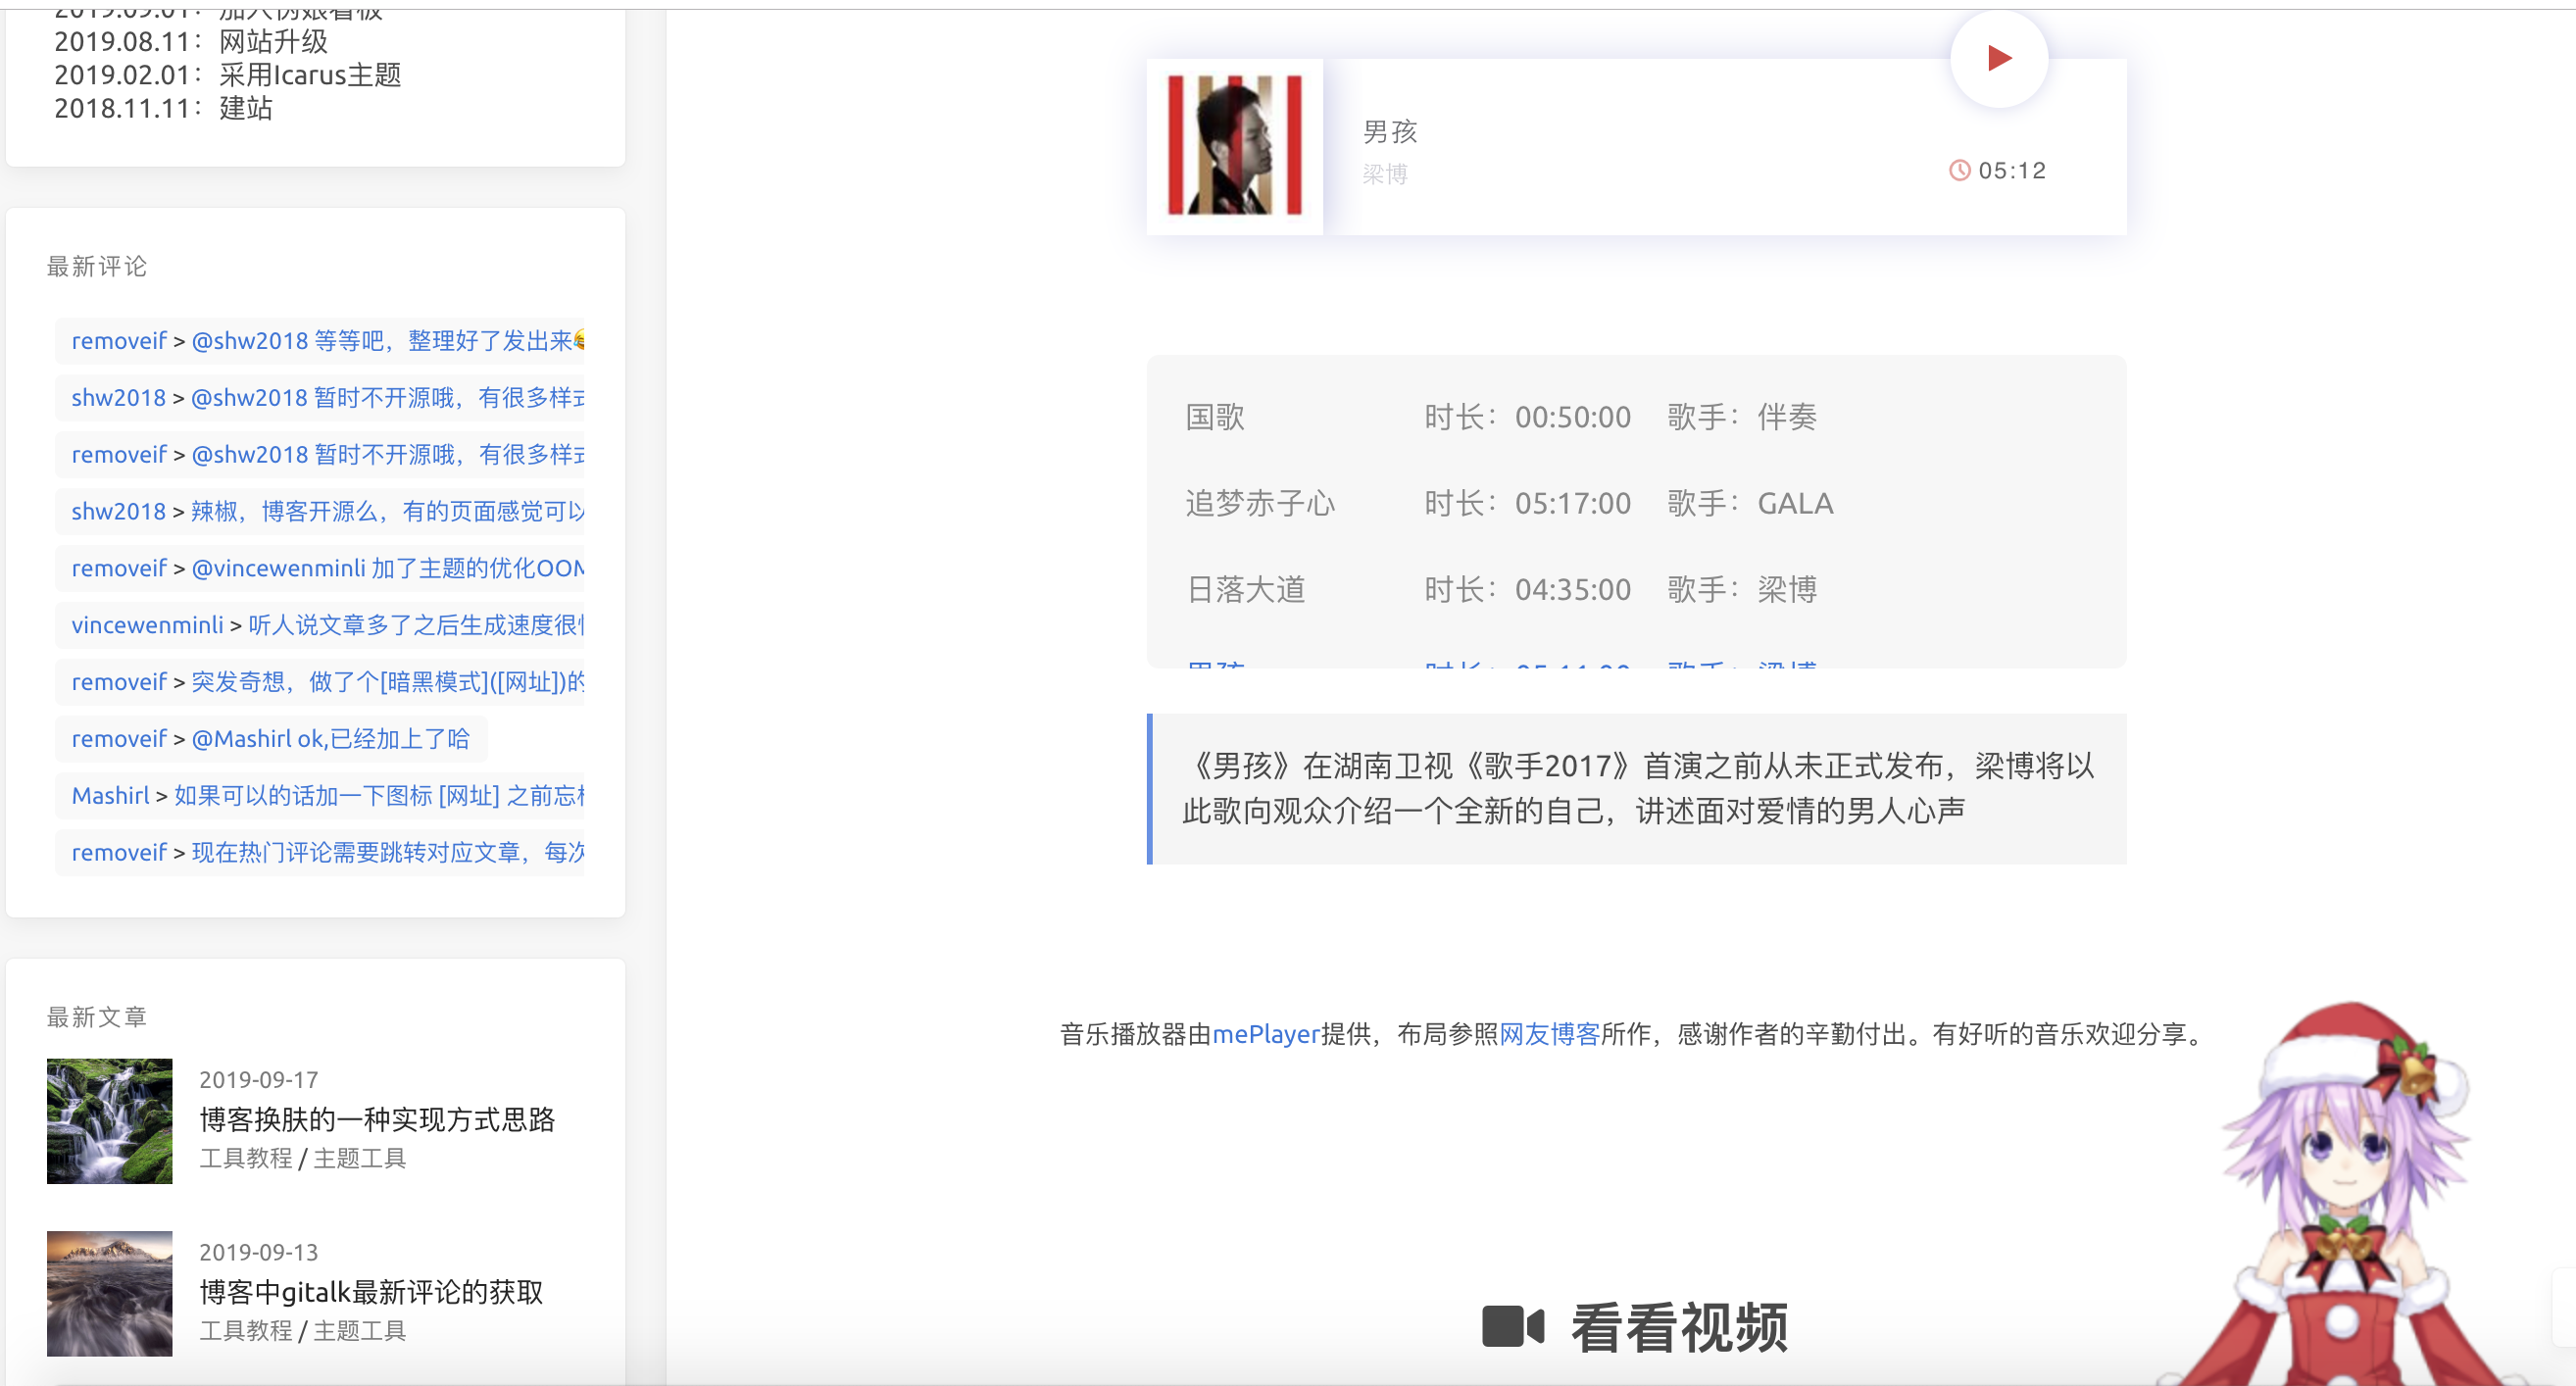
- 增加弹性配置影音(可加音乐、视频)模块
- 丰富弹性配置about页面
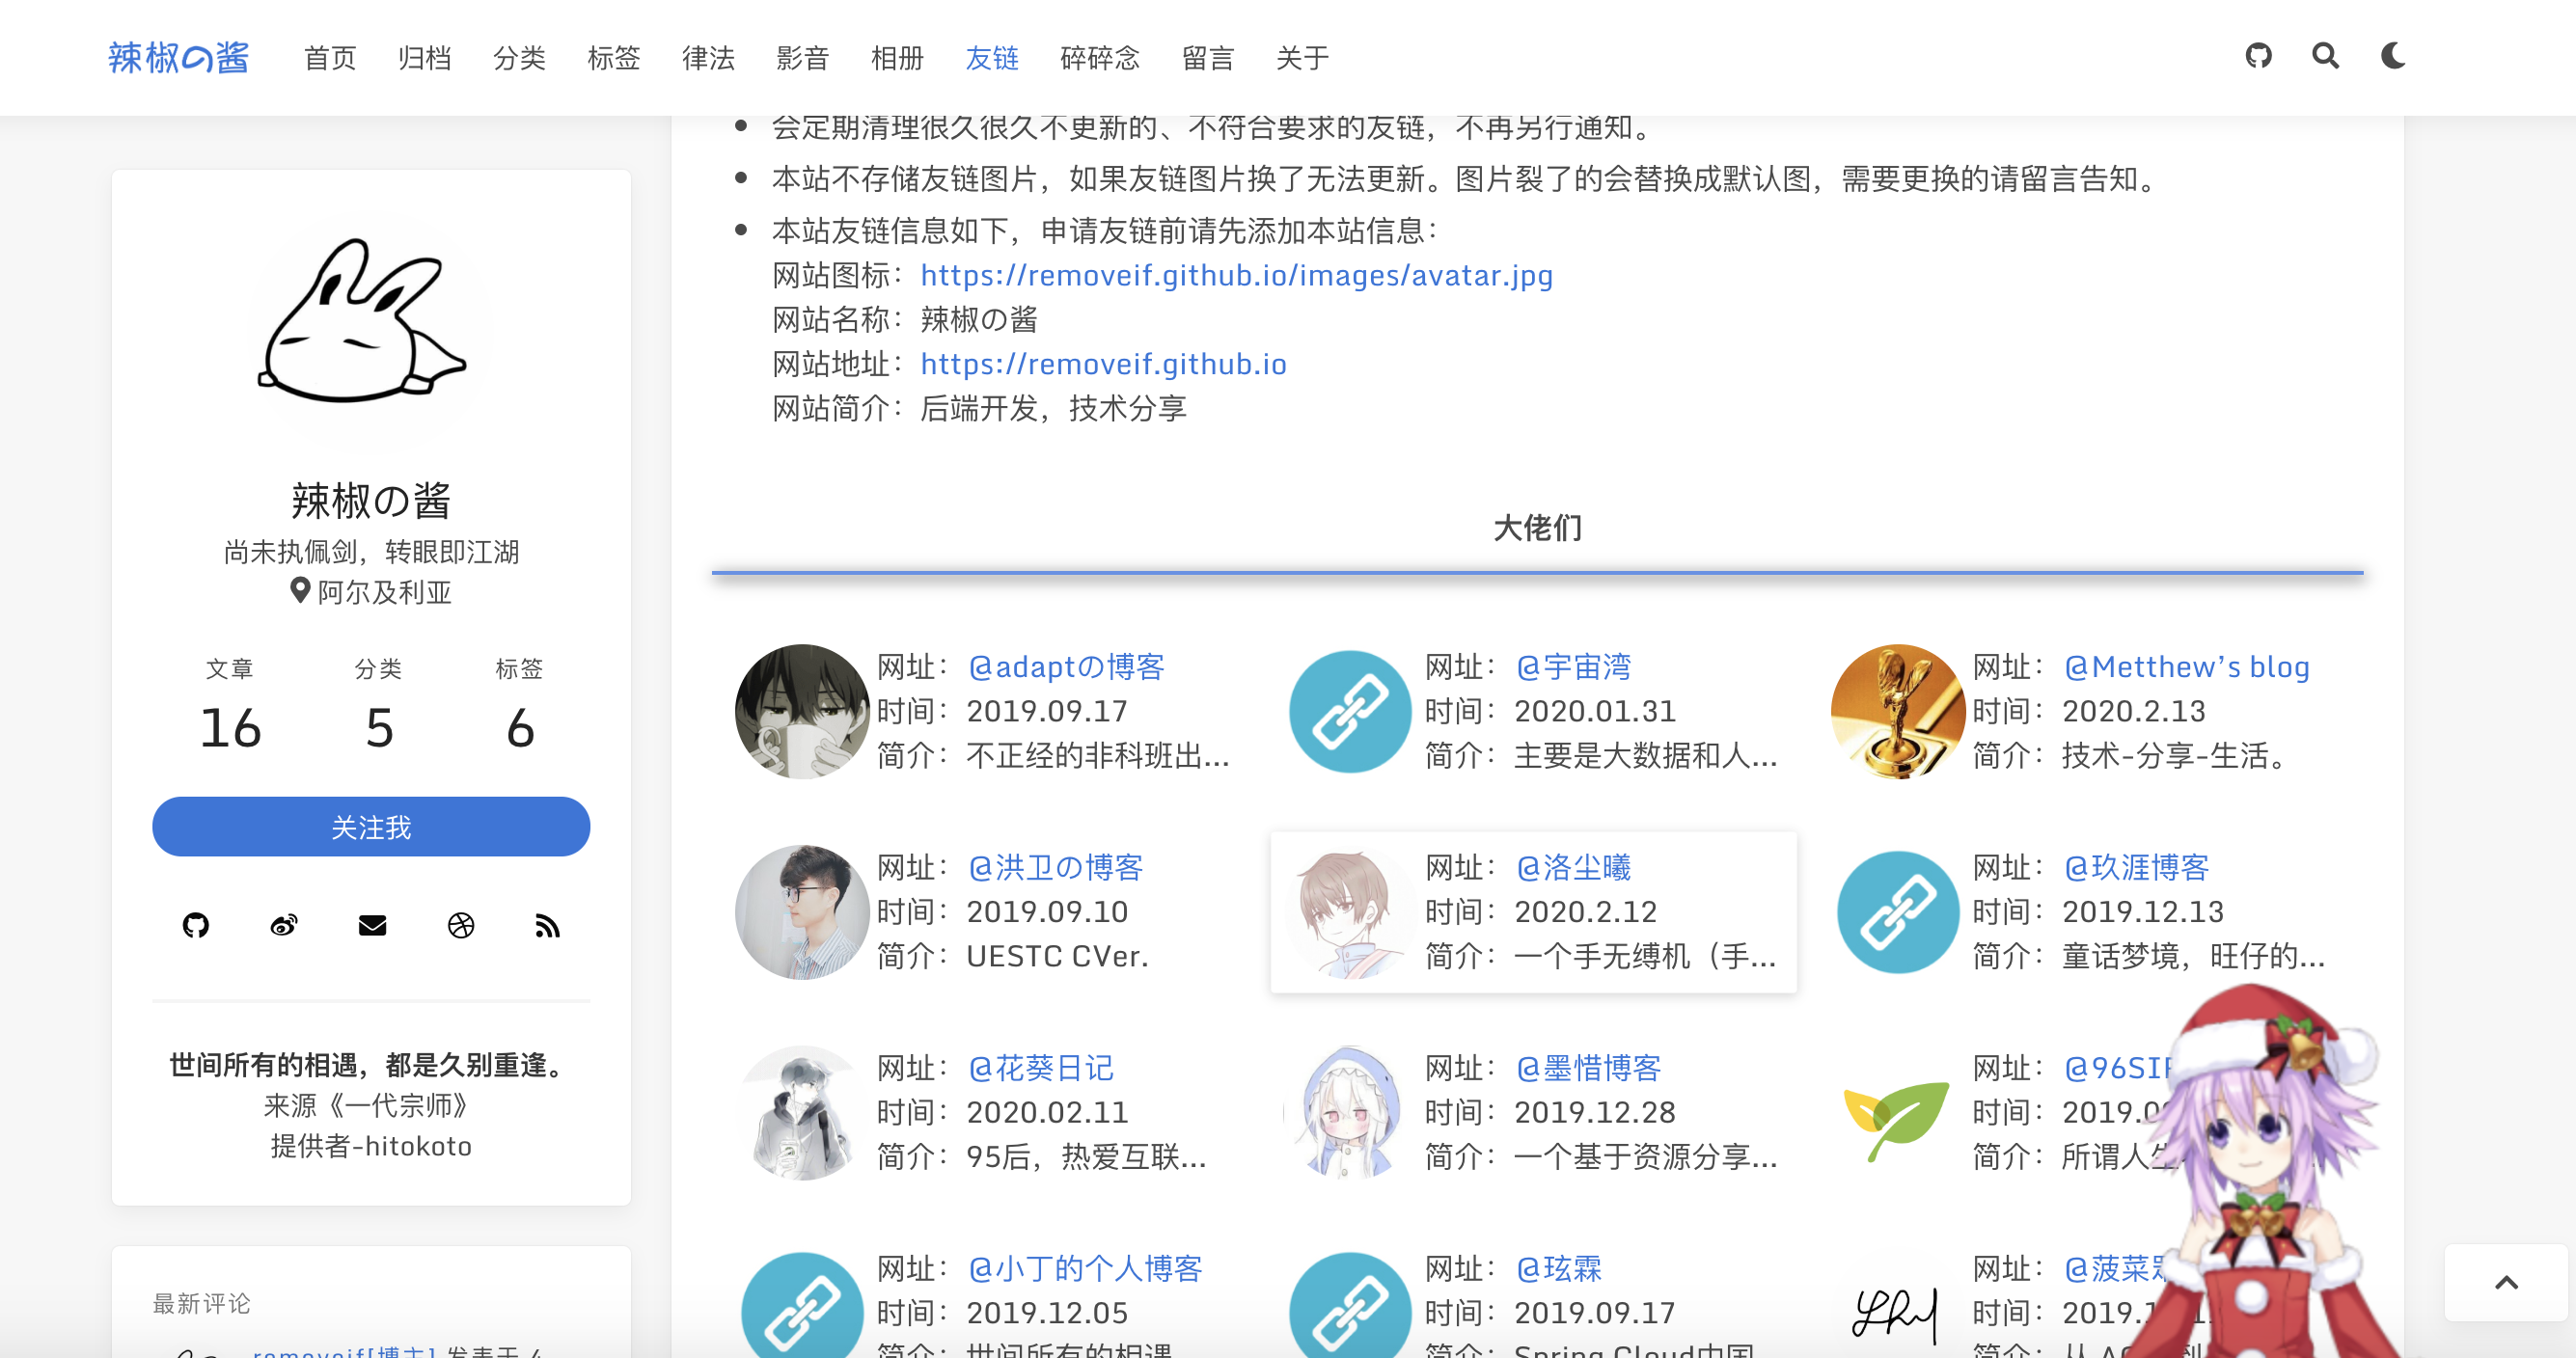
- 新增弹性配置友链模块
- 整体布局左右拉伸了一点,紧凑一些
- 文章页双栏模式、固定导航栏
- 引入可配置看板娘
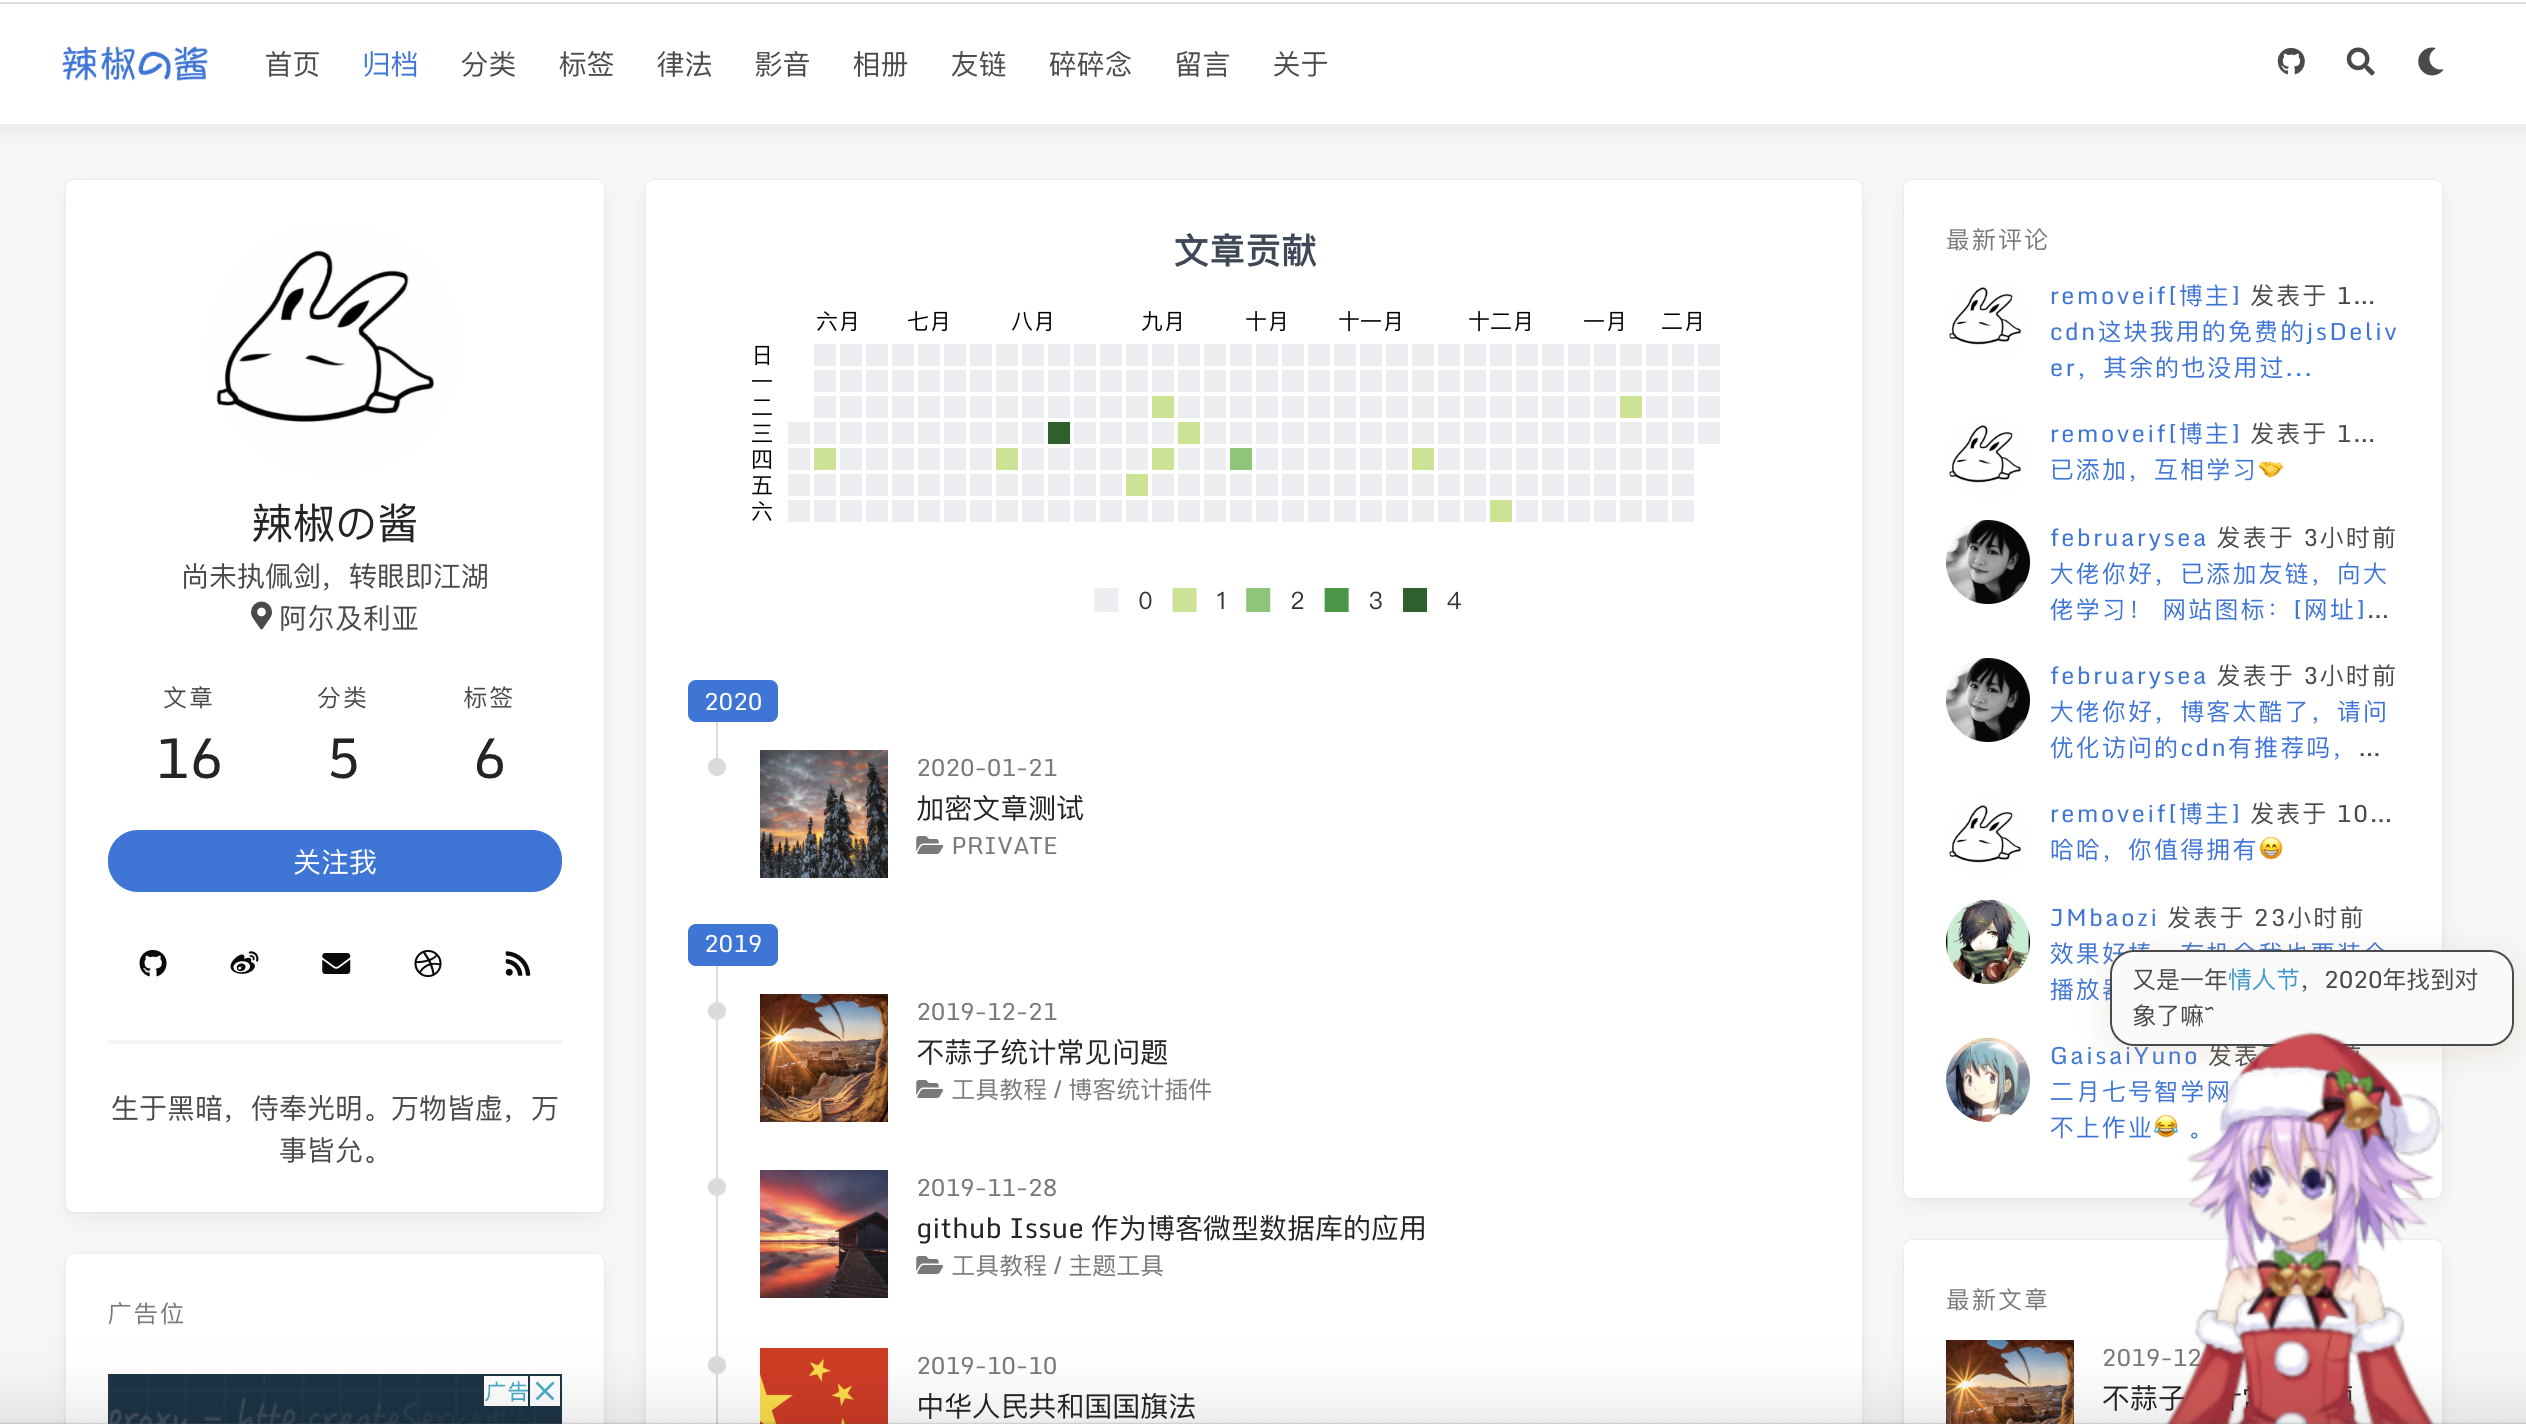
- 归档页加入了一个文章贡献概览
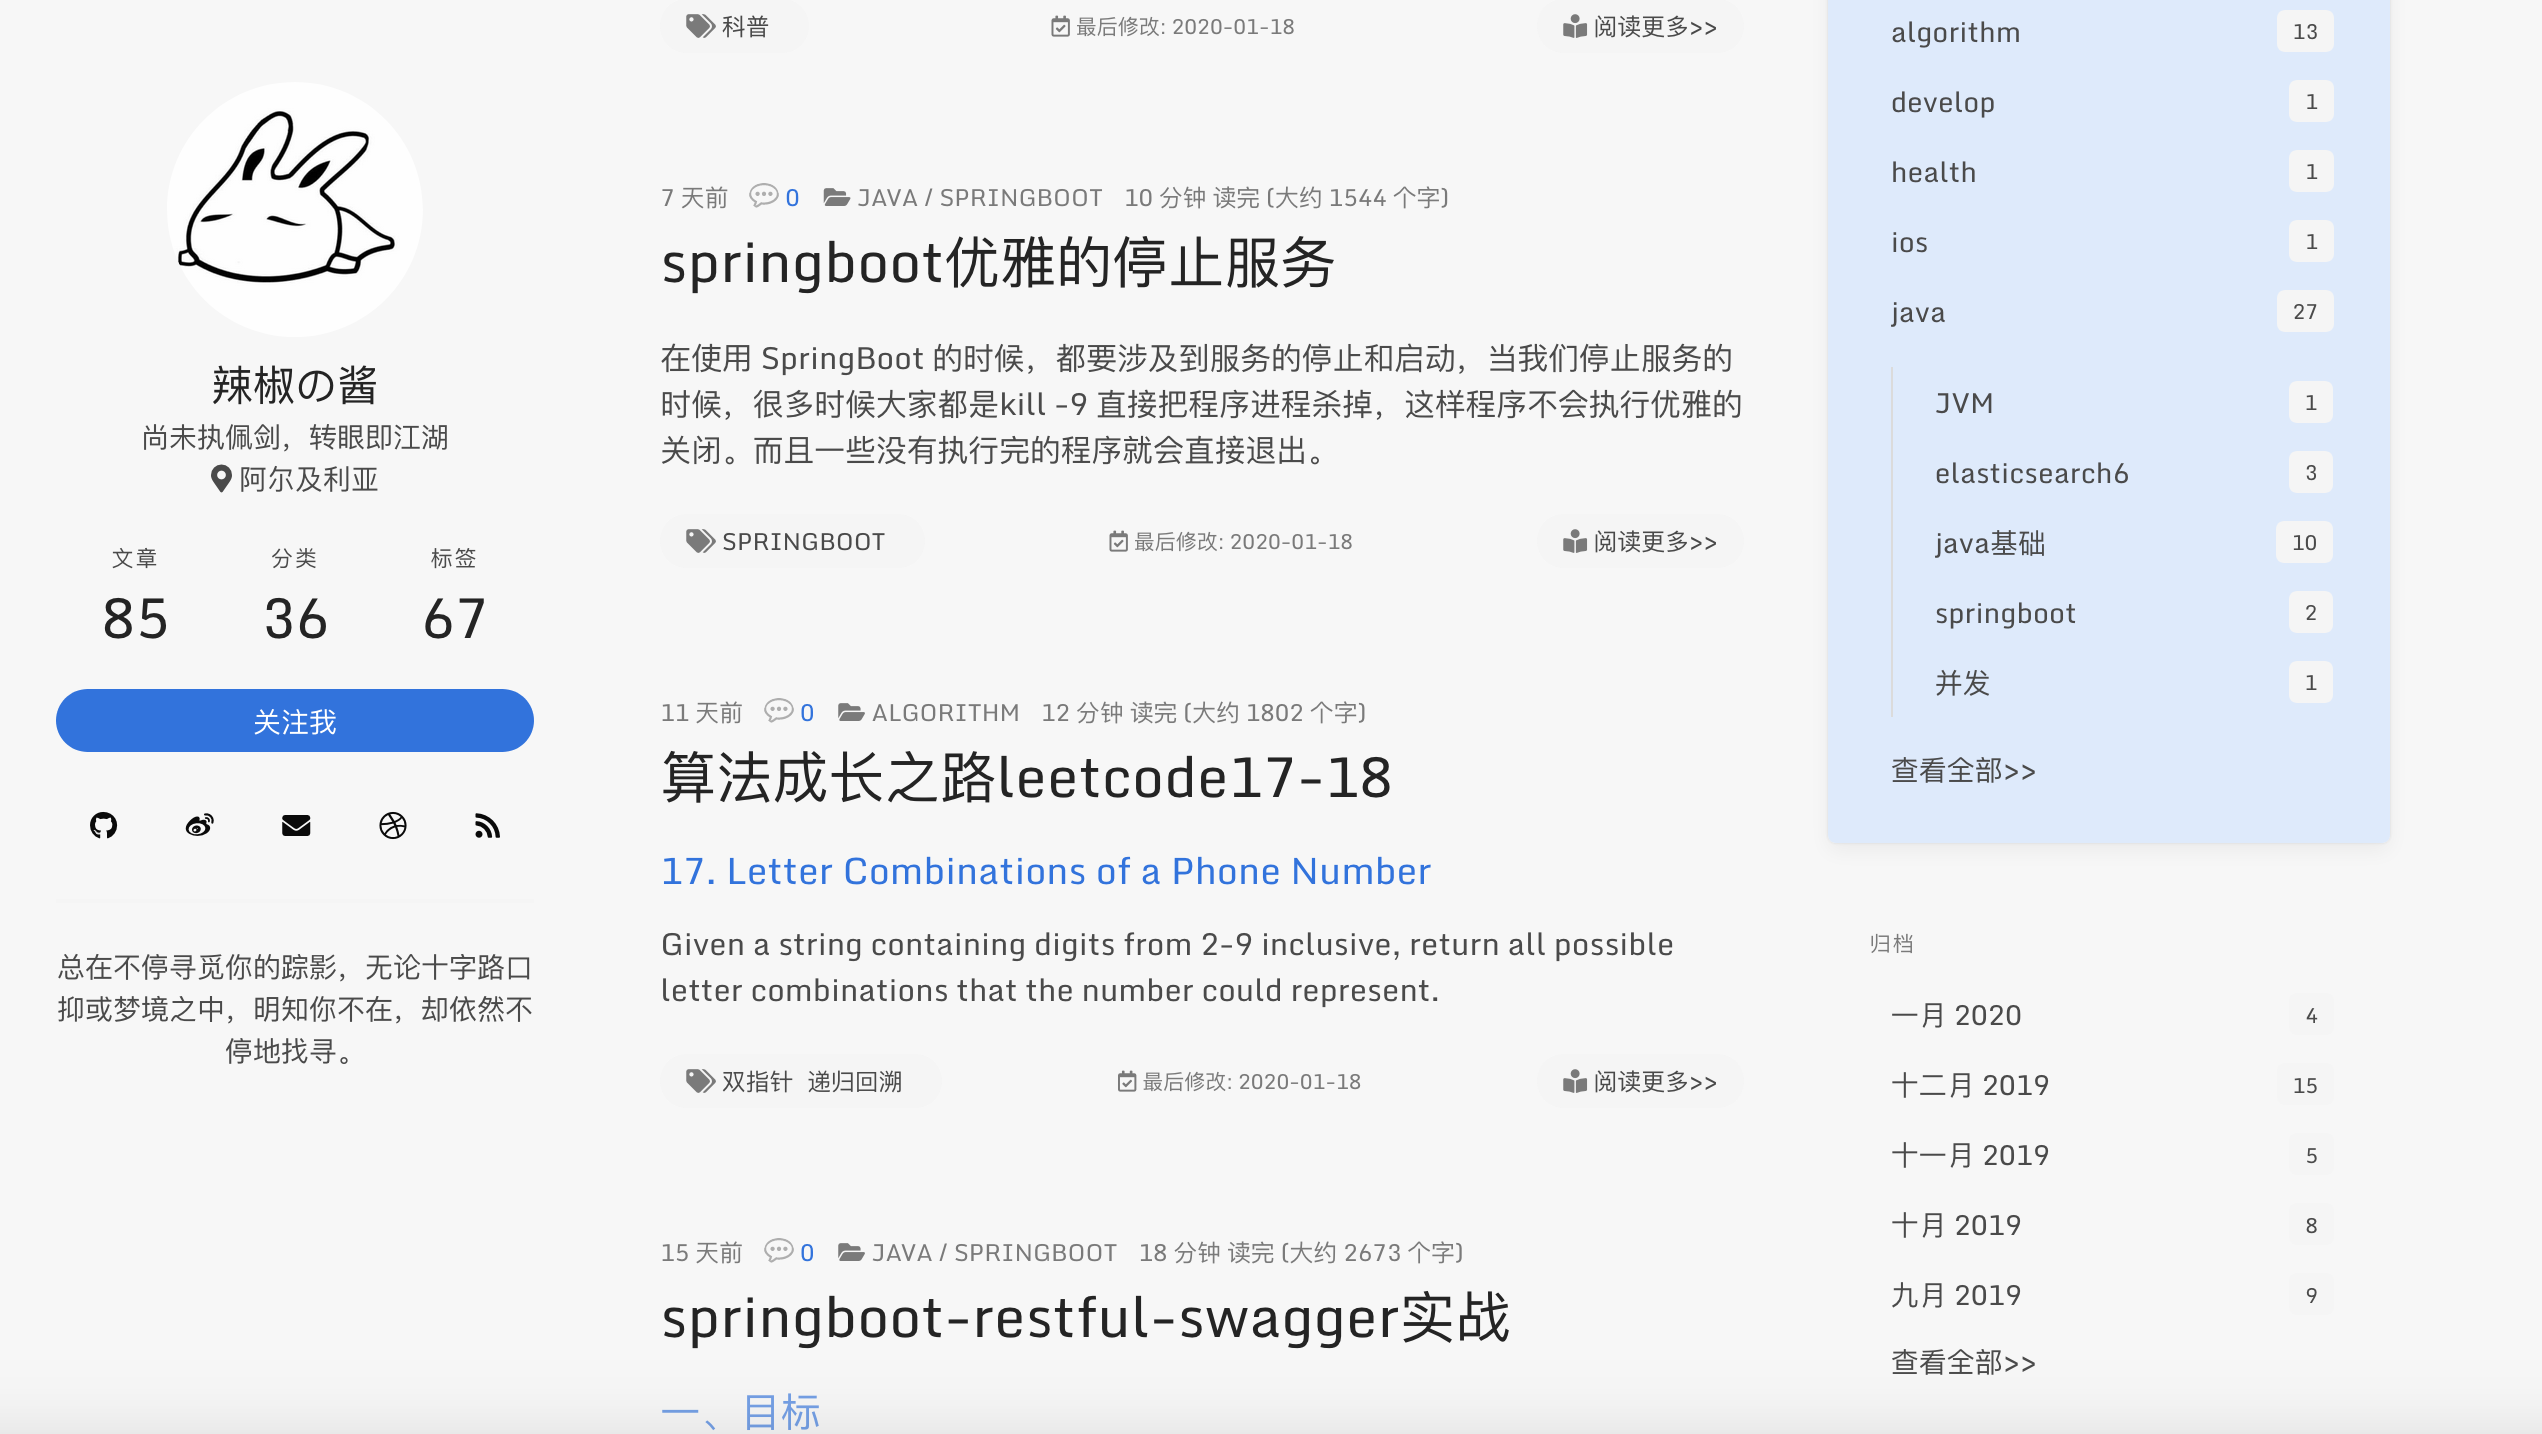
- 置顶文章的设置
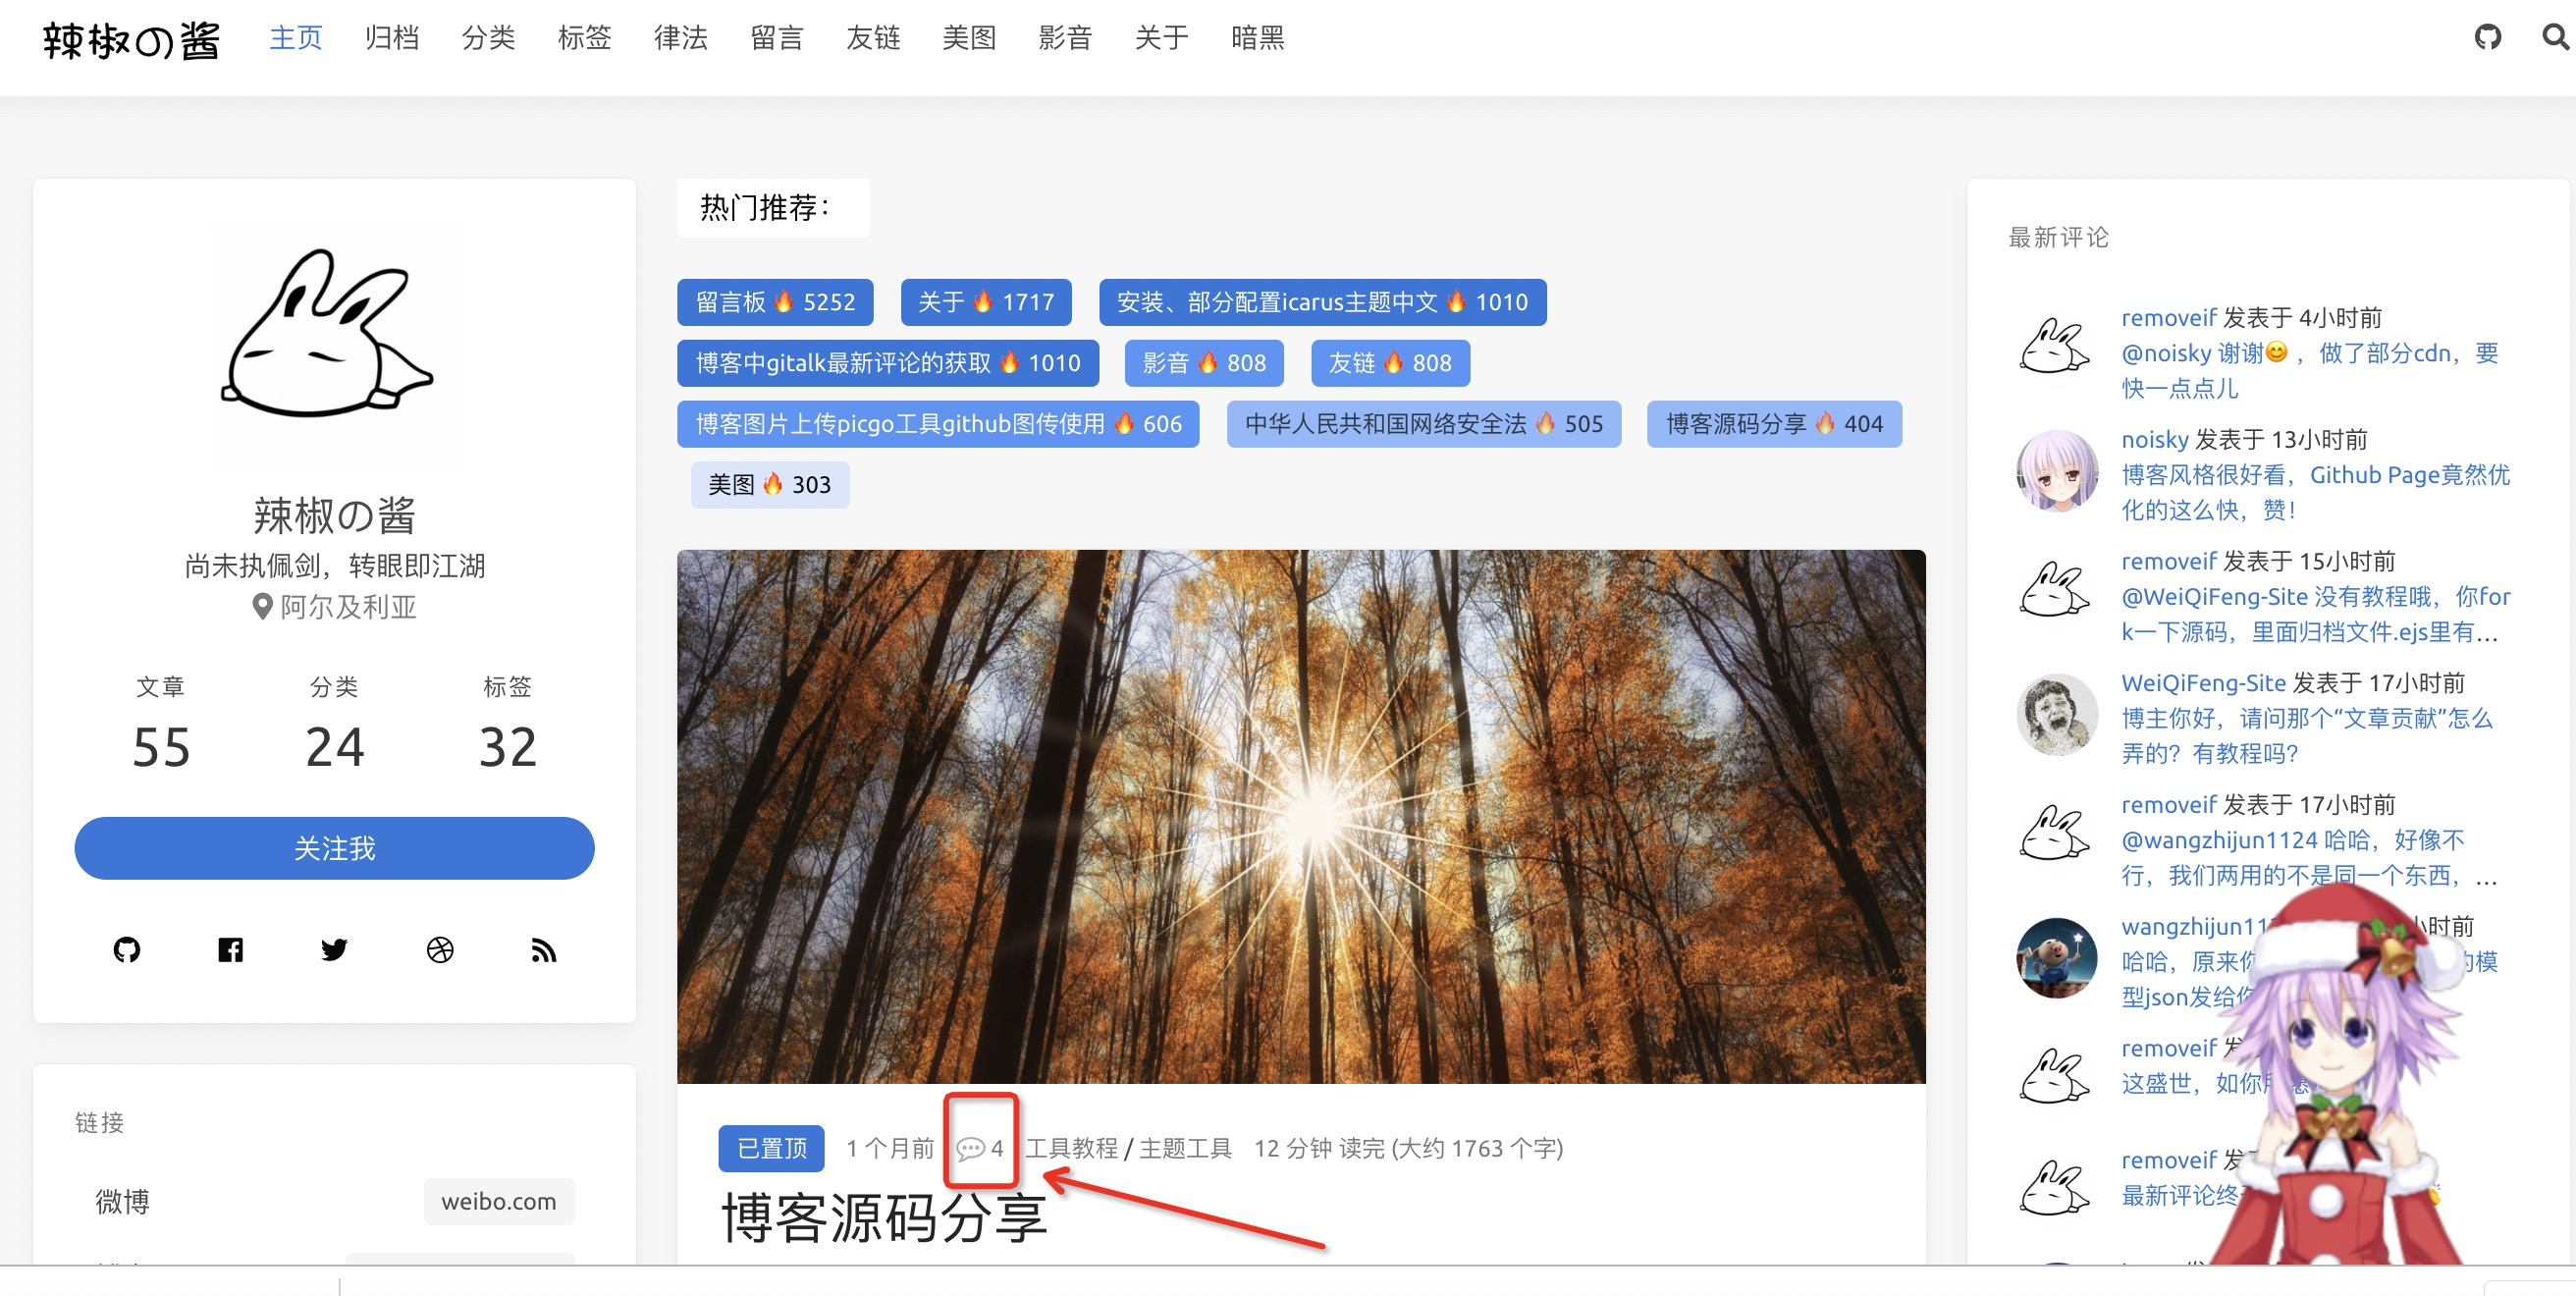
- 文章列表评论数显示
- 文章中推荐文章模块配置
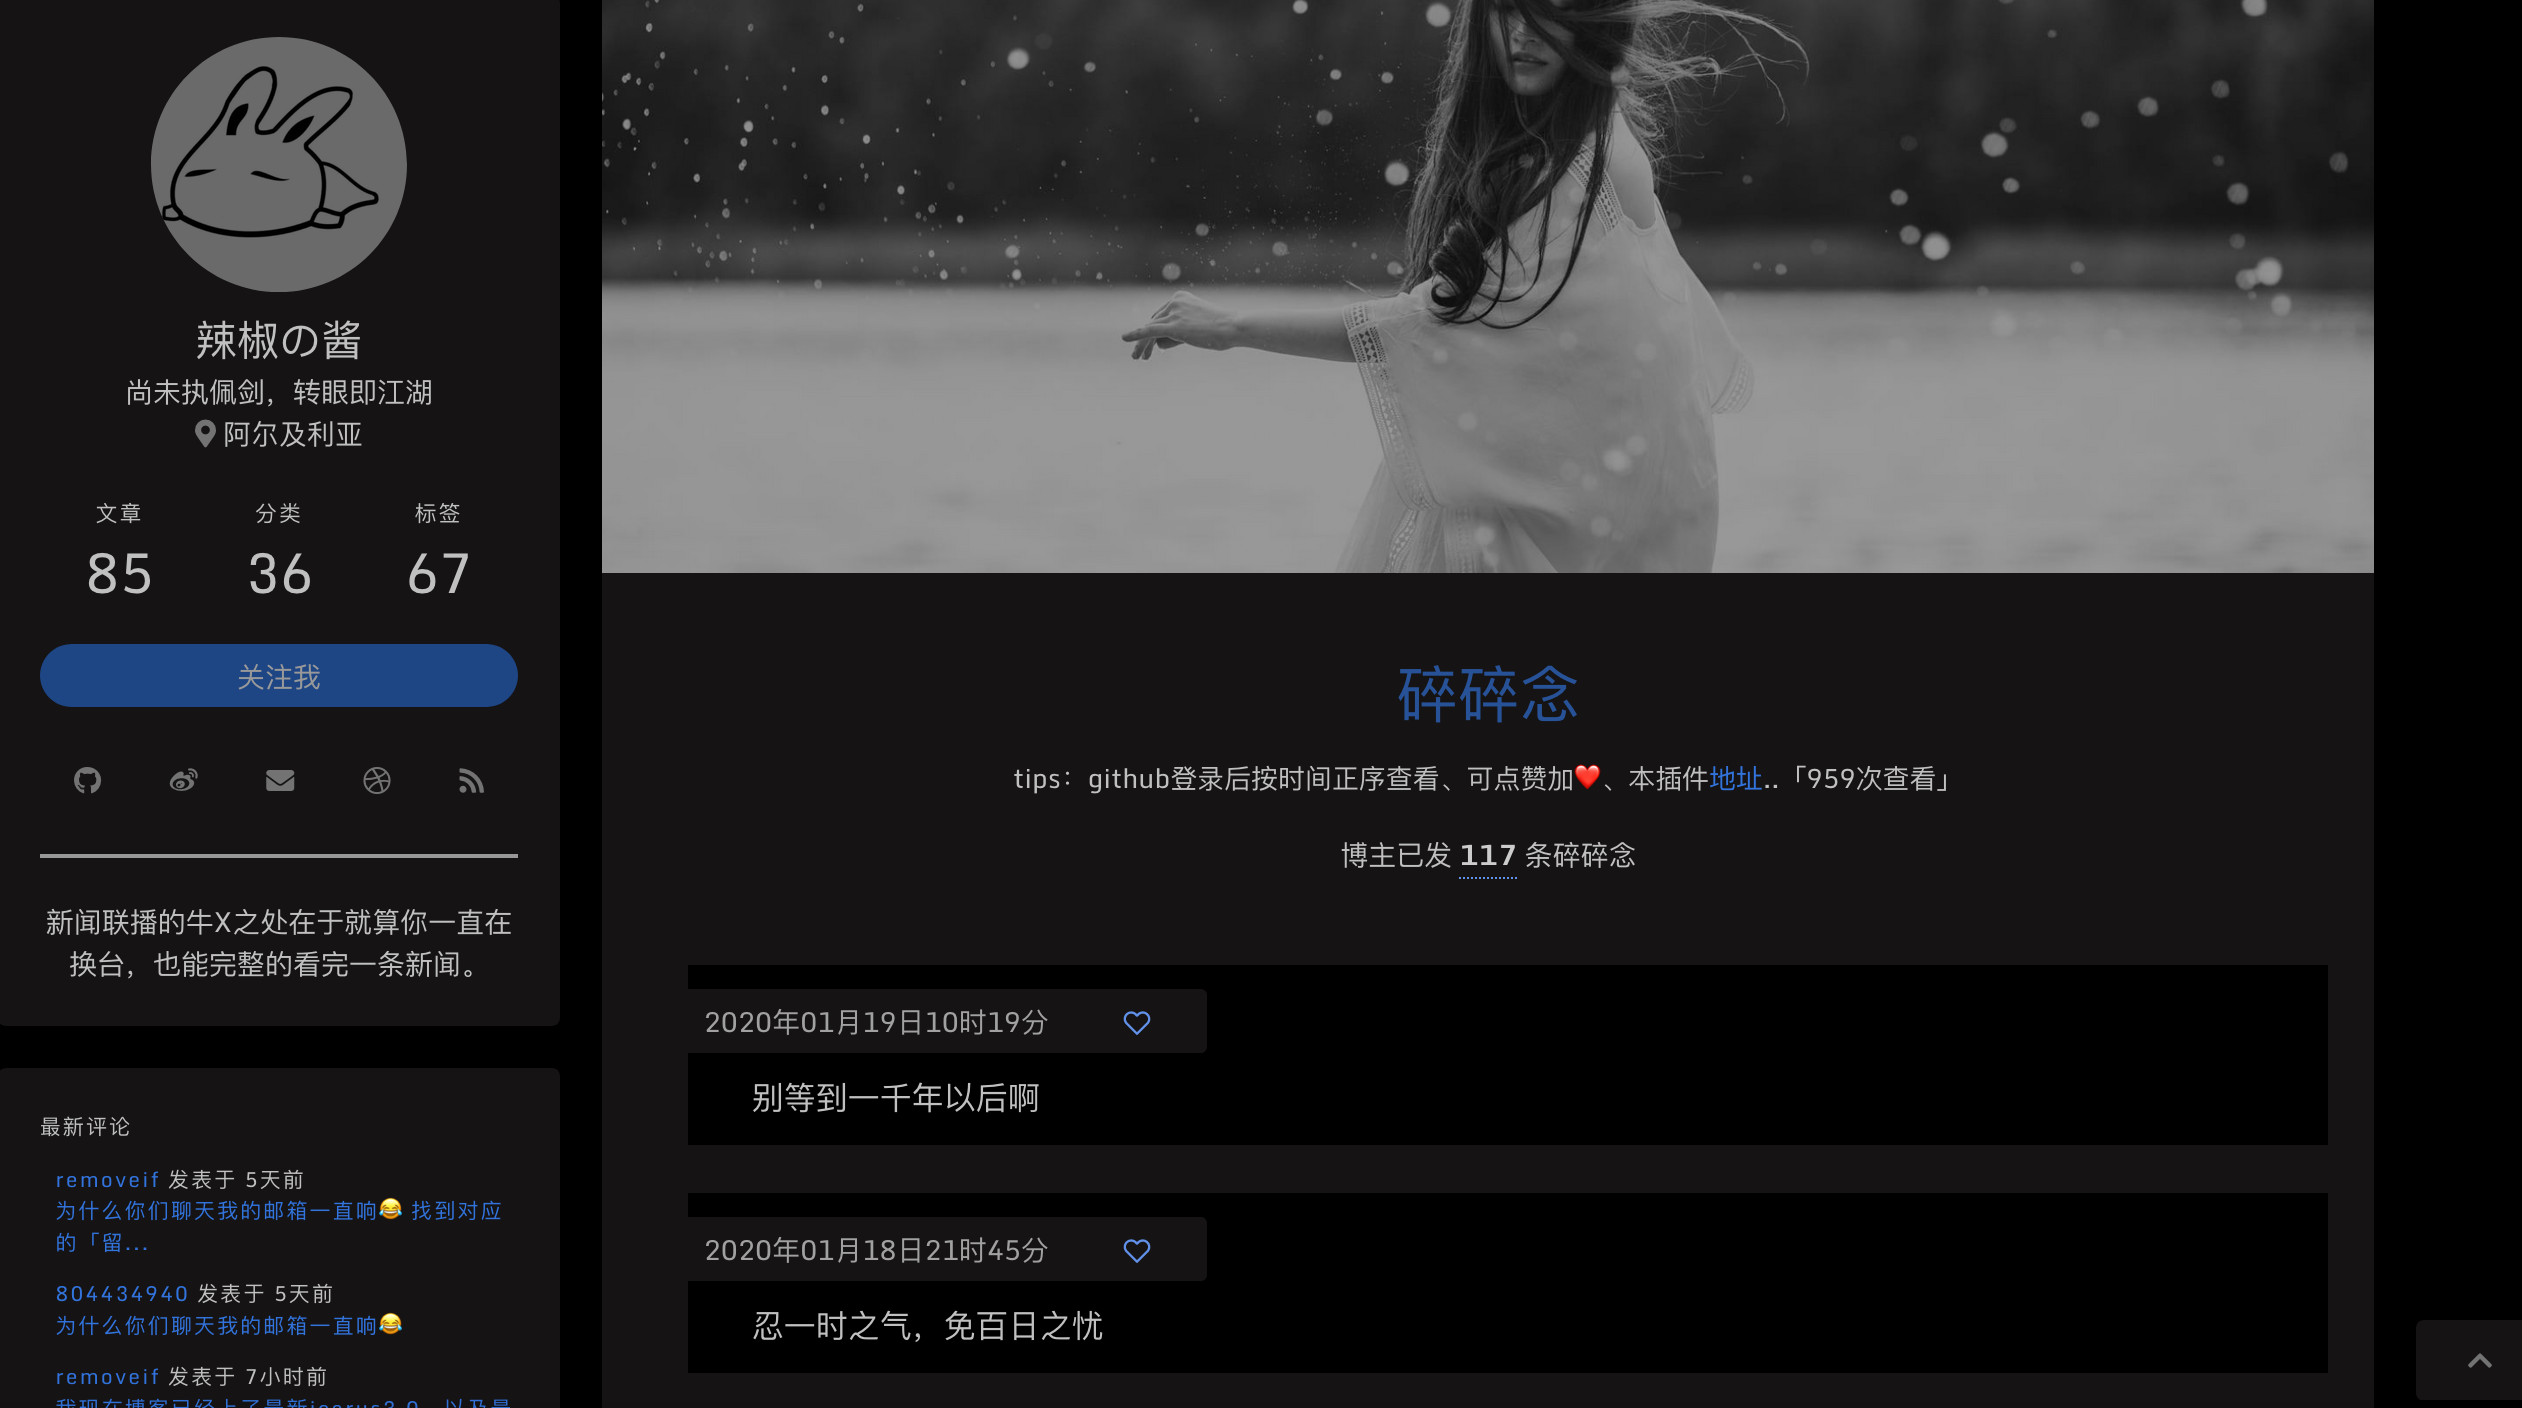
- 增加深色主题切换
- 加入加密文章
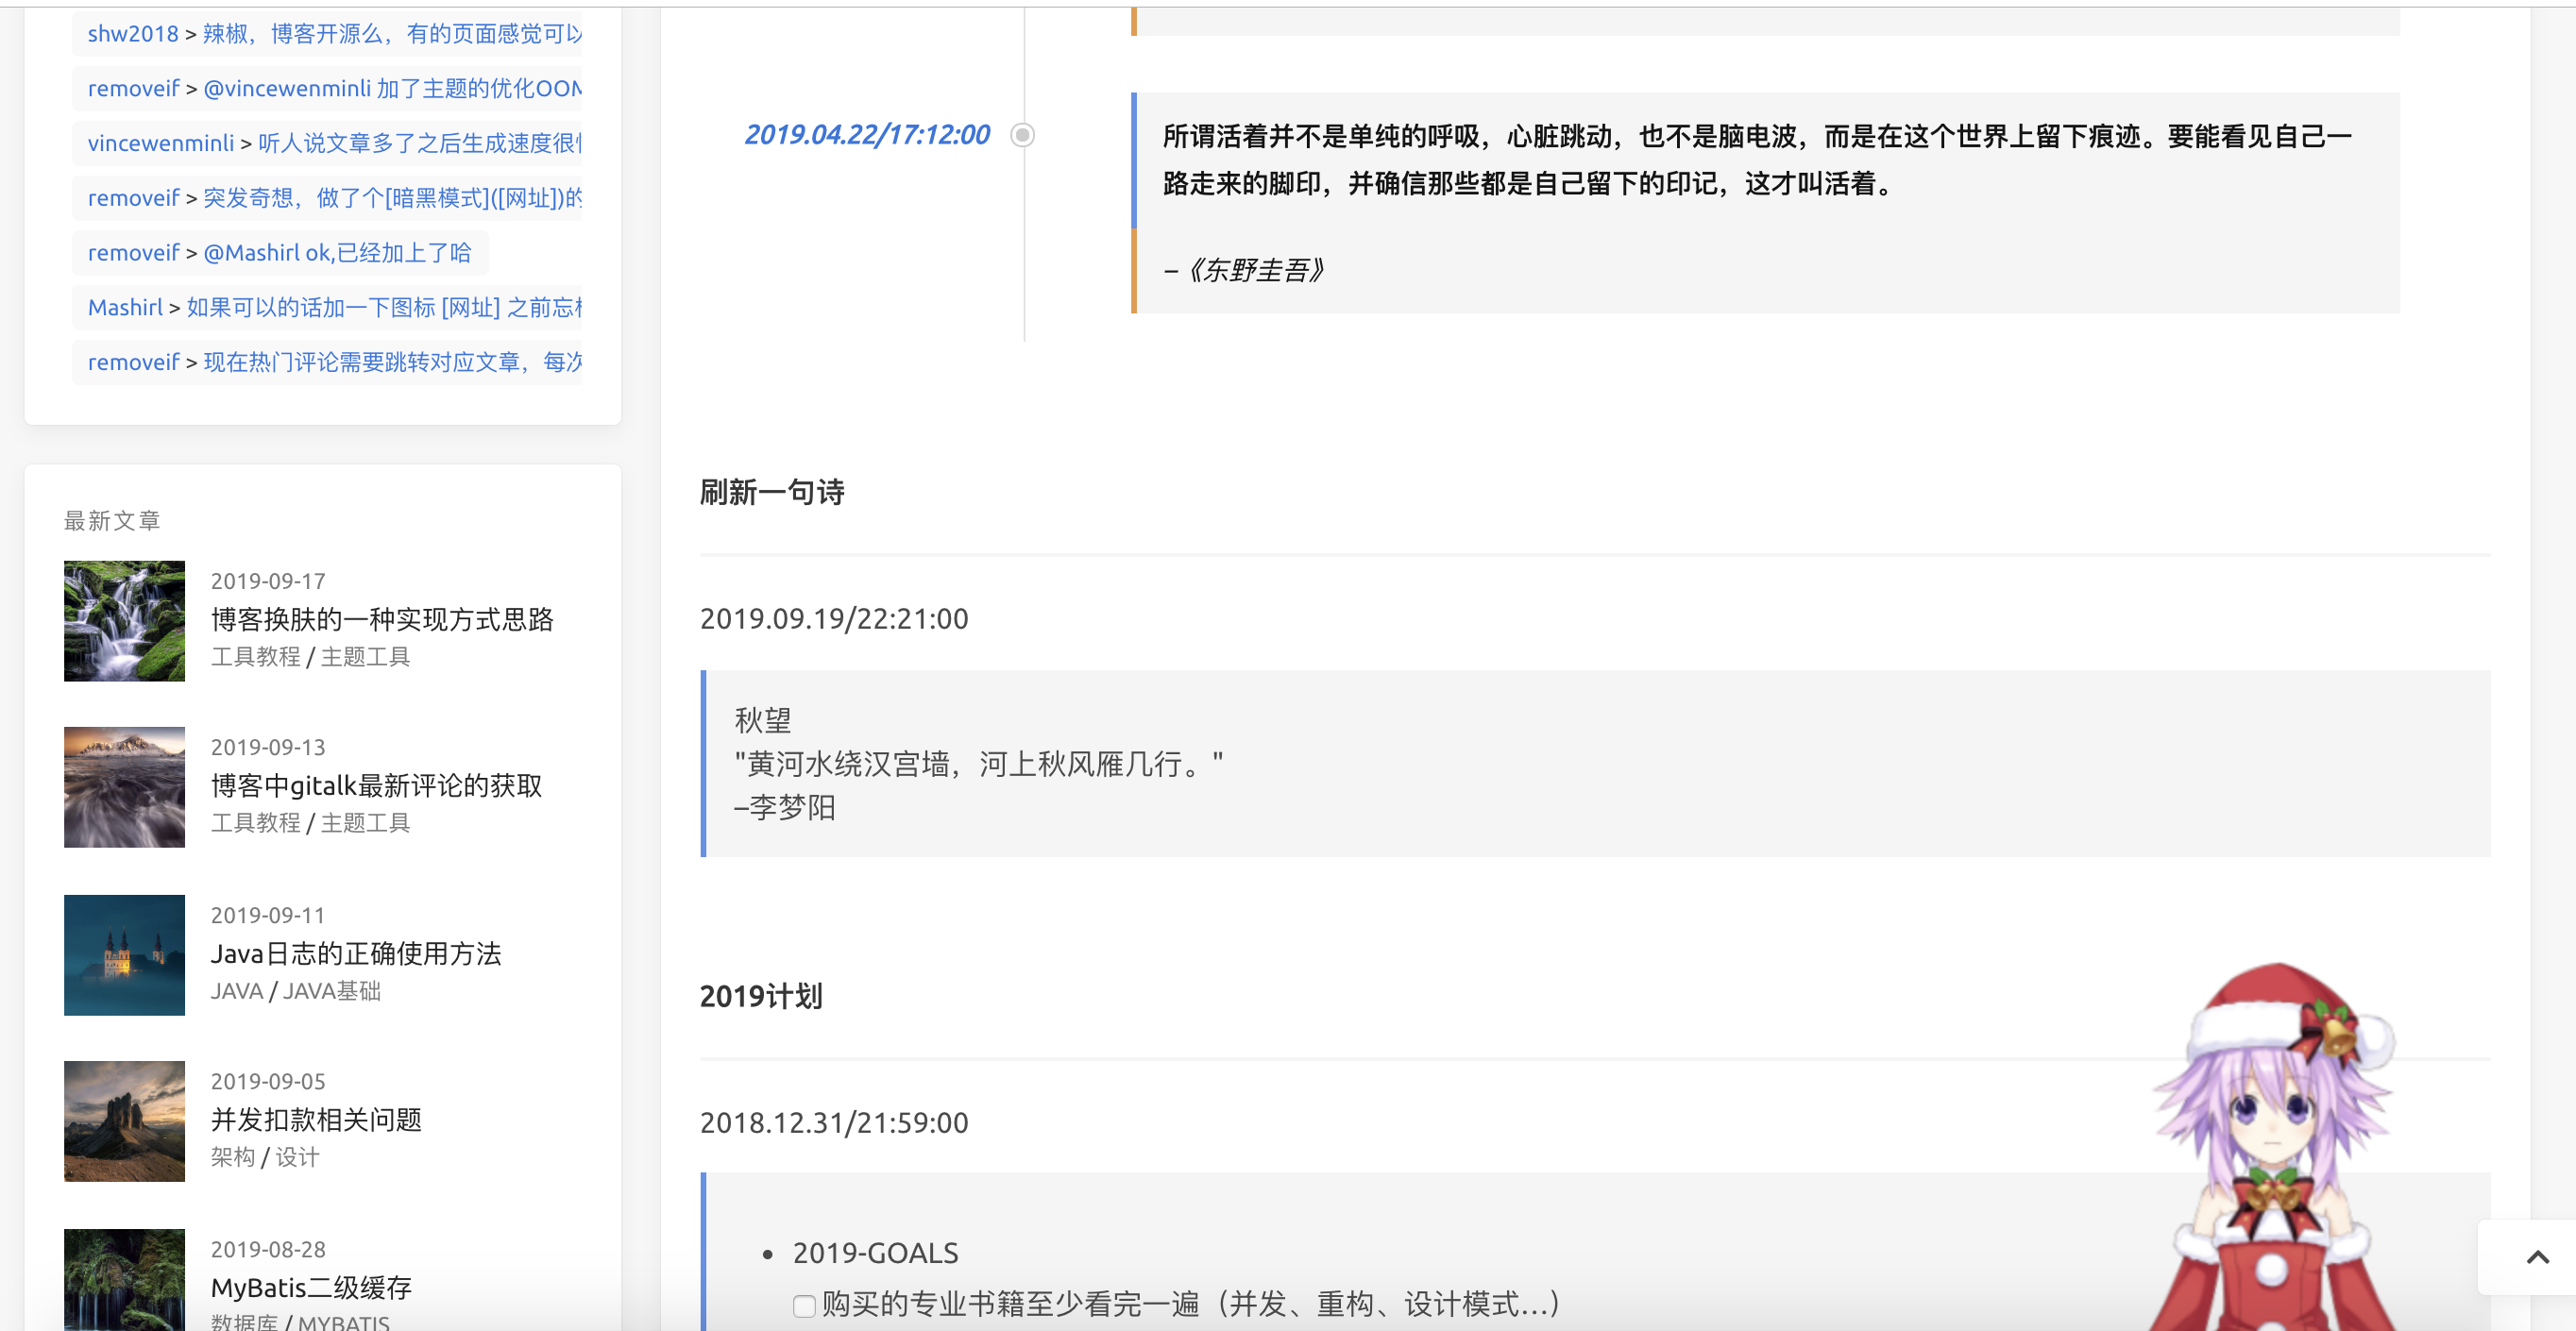
- 碎碎念功能
- 透明无界样式
- 简化部分widget数据,加入
查看全部按钮
- gitalk评论增加评论开关,评论列表中标记博主
- 加入pjax提升页面访问体验,配置文件中可开启关闭
- 侧边栏加入可配置网易云歌单音乐插件,配合pjax可以实现页面间切换背景音乐不间断
- 文章中加入相关文章模块,取分类相同的最新的5条文章
- 支持valine最新评论以及文章评论数显示
还有什么新的,好的feature欢迎大家随时提出来,有能力有时间就做出来
二、部分配置说明:
克隆博客代码到本地
1
| git clone https://github.com/removeif/hexo-theme-amazing.git themes/amazing
|
通过npm安装
1
2
3
| npm i hexo-theme-amazing
hexo config theme amazing // 提示缺少依赖就按提示的安装相应依赖即可
// 博客目录下增加 博客配置文件_config.yml(具体配置指定使用该主题theme: amazing) ,以及主题配置文件_config.amazing.yml进行配置即可
|
开始部分配置:
敲黑板!!!!首先全局以及主题中的_config.yml配置成自己的对应参数。
1.热门推荐,最新评论:
热门推荐仅支持gitalk,最新评论支持gitalk & valine 对应主题中的_config.yml要开启如下配置(此为gitalk,valine配置文件中也有示例),xxx换成自己的,否则无效。对于gitalk部署博客后需要到相应文章评论处点击初始化issue评论,完成评论的初始化。
themes/icarus/_config.yml >folded1
2
3
4
5
6
7
8
9
10
11
| comment:
type: gitalk
owner: xxx
repo: xxx
client_id: xxx
client_secret: xxx
admin: xxx
create_issue_manually: true
distraction_free_mode: true
has_hot_recommend: true
has_latest_comment: true
|
说明:
has_hot_recommend: true 是否开启首页热评,false-不开启,true-开启has_latest_comment: true 是否开启最新评论,false-不开启,true-开启- 热门推荐数据为评论数最多的文章,🔥后面的数字:根据文章的评论数*101 。
- 最新评论:为该仓库下,所有issue中的最新评论。
- 目前的最新评论有1分钟的本地缓存,评论后可能1分钟后才能看见最新评论,出于性能优化,每次请求接口处理还是挺耗时,comment-issue-data.js中可以自己去掉。
2.友链数据文件:
文件路径:themes/icarus/source/js/friend.js
相应格式增加自己需要的数据。
3.影音数据文件:
文件路径:
音乐:themes/icarus/source/json_data/music.json
视频:themes/icarus/source/json_data/video.json
相应格式增加自己需要的数据。
4.关于页面时间轴记录数据文件:
文件路径:themes/icarus/source/json_data/record.json
相应格式增加自己需要的数据。
5.看板娘配置
主题中的_config.yml配置如下设置
1
| live2Dswitch: off #live2D开关 on为打开,off为关闭
|
6.置顶设置:
.md文章头部数据中加入top值,top值越大越靠前,大于0显示置顶图标。
修改依赖包中文件removeif/node_modules/hexo-generator-index/lib/generator.js如下:
node_modules/hexo-generator-index/lib/generator.js >folded1
2
3
4
5
6
7
8
9
10
11
12
13
14
15
16
17
18
19
20
21
22
23
24
25
26
27
28
| 'use strict';
const pagination = require('hexo-pagination');
module.exports = function(locals){
var config = this.config;
var posts = locals.posts;
posts.data = posts.data.sort(function(a, b) {
if(a.top == undefined){
a.top = 0;
}
if(b.top == undefined){
b.top = 0;
}
if(a.top == b.top){
return b.date - a.date;
}else{
return b.top - a.top;
}
});
var paginationDir = config.pagination_dir || 'page';
return pagination('', posts, {
perPage: config.index_generator.per_page,
layout: ['index', 'archive'],
format: paginationDir + '/%d/',
data: {
__index: true
}
});
};
|
7.配置文章中推荐文章模块
根据配置的recommend值(必须大于0),值越大越靠前,相等取最新的,最多取5条。recommend(6.中top值也在下面示例)配置在.md文章头中,如下
1
2
3
4
5
6
7
8
9
| title: 博客源码分享
top: 1
toc: true
recommend: 1
keywords: categories-github
date: 2019-09-19 22:10:43
thumbnail: https://cdn.jsdelivr.net/gh/removeif/blog_image/img/2019/20190919221611.png
tags: 工具教程
categories: [工具教程,主题工具]
|
8.文章中某个代码块折叠的方法
代码块头部加入标记 >folded,如下代码块中使用。
main.java >folded
9.加入加密文章
如下需要加密的文章头部加入以下代码
1
2
3
4
5
6
7
8
9
10
11
12
13
14
| ---
title: 2019成长记01
top: -1
toc: true
keywords: categories-java
#以下为文章加密信息
encrypt: true
password: 123456 #此处为文章密码
abstract: 咦,这是一篇加密文章,好像需要输入密码才能查看呢!
message: 嗨,请准确无误地输入密码查看哟!
wrong_pass_message: 不好意思,密码没对哦,在检查检查呢!
wrong_hash_message: 不好意思,信息无法验证!
---
|
注:加密文章不会出现在最新文章列表widget中,也不会出现在文章中推荐列表中,首页列表中需要设置top: -1 让它排在最后比较合理一些。
10.碎碎念的使用
在github中,创建碎碎念issue,并且打上对应的label(eg:Gitalk,666666)如下图,此处666666对应下面配置代码中的id,填写到source/self-talking/index.md文件中如下对应位置,其余配置也要改成自己的,如clientID等。

1
2
3
4
5
6
7
8
9
10
11
12
13
| <script>
var gitalk = new Gitalk({
clientID: '46a9f3481b46ea0129d8',
clientSecret: '79c7c9cb847e141757d7864453bcbf89f0655b24',
id: '666666',
repo: 'issue_database',
owner: 'removeif',
admin: "removeif",
createIssueManually: true,
distractionFreeMode: false
})
gitalk.render('comment-container1')
</script>
|
如下:
11.本博客样式(透明无界)
只需要放开themes/icarus/source/css/base.styl文件中以下样式代码注释即可,默认是注释的没启用
base.styl >folded1
2
3
4
5
6
7
8
9
10
11
12
13
14
15
16
17
18
19
20
21
22
23
24
25
26
27
28
29
30
31
32
33
34
35
36
37
38
39
40
41
42
43
44
45
46
47
48
49
50
51
| //=================本博客使用样式 start
// 首页去图
.body_hot_comment .comment-content .card-comment-item .ava, .media-left, .is-6-widescreen .card-image {
display: none;
}
hover-color = #deeafb;
// 去card
.card {
background-color: unset;
//box-shadow: unset;
}
.navbar, footer.footer {
background-color: unset;
}
body:not(.night) .navbar:hover,
body:not(.night) .footer:hover,
body:not(.night) .card:hover,
body:not(.night) .pagination:hover,
body:not(.night) .post-navigation:hover{
background-color: hover-color;
box-shadow: 0 4px 10px rgba(0,0,0,0.05),0 0 1px rgba(0,0,0,0.1);
}
.pagination, .post-navigation{
padding: 10px;
}
.pagination .pagination-link:not(.is-current), .pagination .pagination-previous, .pagination .pagination-next {
background-color:rgba(255,255,255,0);
}
.timeline .media:last-child:after {
background: unset;
}
.footer {
box-shadow: 0px 4px 10px 10px rgba(0,0,0,0.05);
padding: 3rem 1.5rem 2rem;
}
@media screen and (max-width: 1087px)
.navbar-menu {
background-color: unset;
}
//=================本博客使用样式 end
|
如下:

widget中的归档和分类和标签精简了,数据多时很丑,改为了分别展示5条和10条和20条,增加了查看全部。
gitalk评论增加评论开关,评论列表中标记博主
需要关闭评论的在文章头部加入 comments: false,原来已经评论的依然会显示,如下

原来已有博客文章的迁移,只需要把原来对应的文章放到source/_posts里即可。然后去对应文章下面创建评论issue。
以上配置好后
1
2
3
4
5
| $ npm install
$ hexo clean
$ hexo g
$ hexo s
$ hexo d
|
安装依赖包(只需要执行一次),以后修改了代码 只需要执行后面几条就好。
ok,enjoy it!!👏👏
有什么问题,欢迎issue里讨论。
写在后面
如果你有问题请反馈: issues (请务必先于issues中寻找答案)
如果你喜欢该主题: star
如果你想定制主题: fork
文章中横竖图demo;对于横竖图推荐分开使用,且长宽一致的,如统一手机拍照、电脑截图
使用方法:md文章中放入以下代码
index.html>folded1
2
3
4
5
6
7
8
9
10
11
12
13
14
15
16
17
18
19
|
+ 横竖图
<div class="justified-gallery">
    </div>
+ 横图4
<div class="img-x">
   </div>
+ 竖图5
<div class="img-y">
    </div>
|
效果如下(多图左右拉查看)
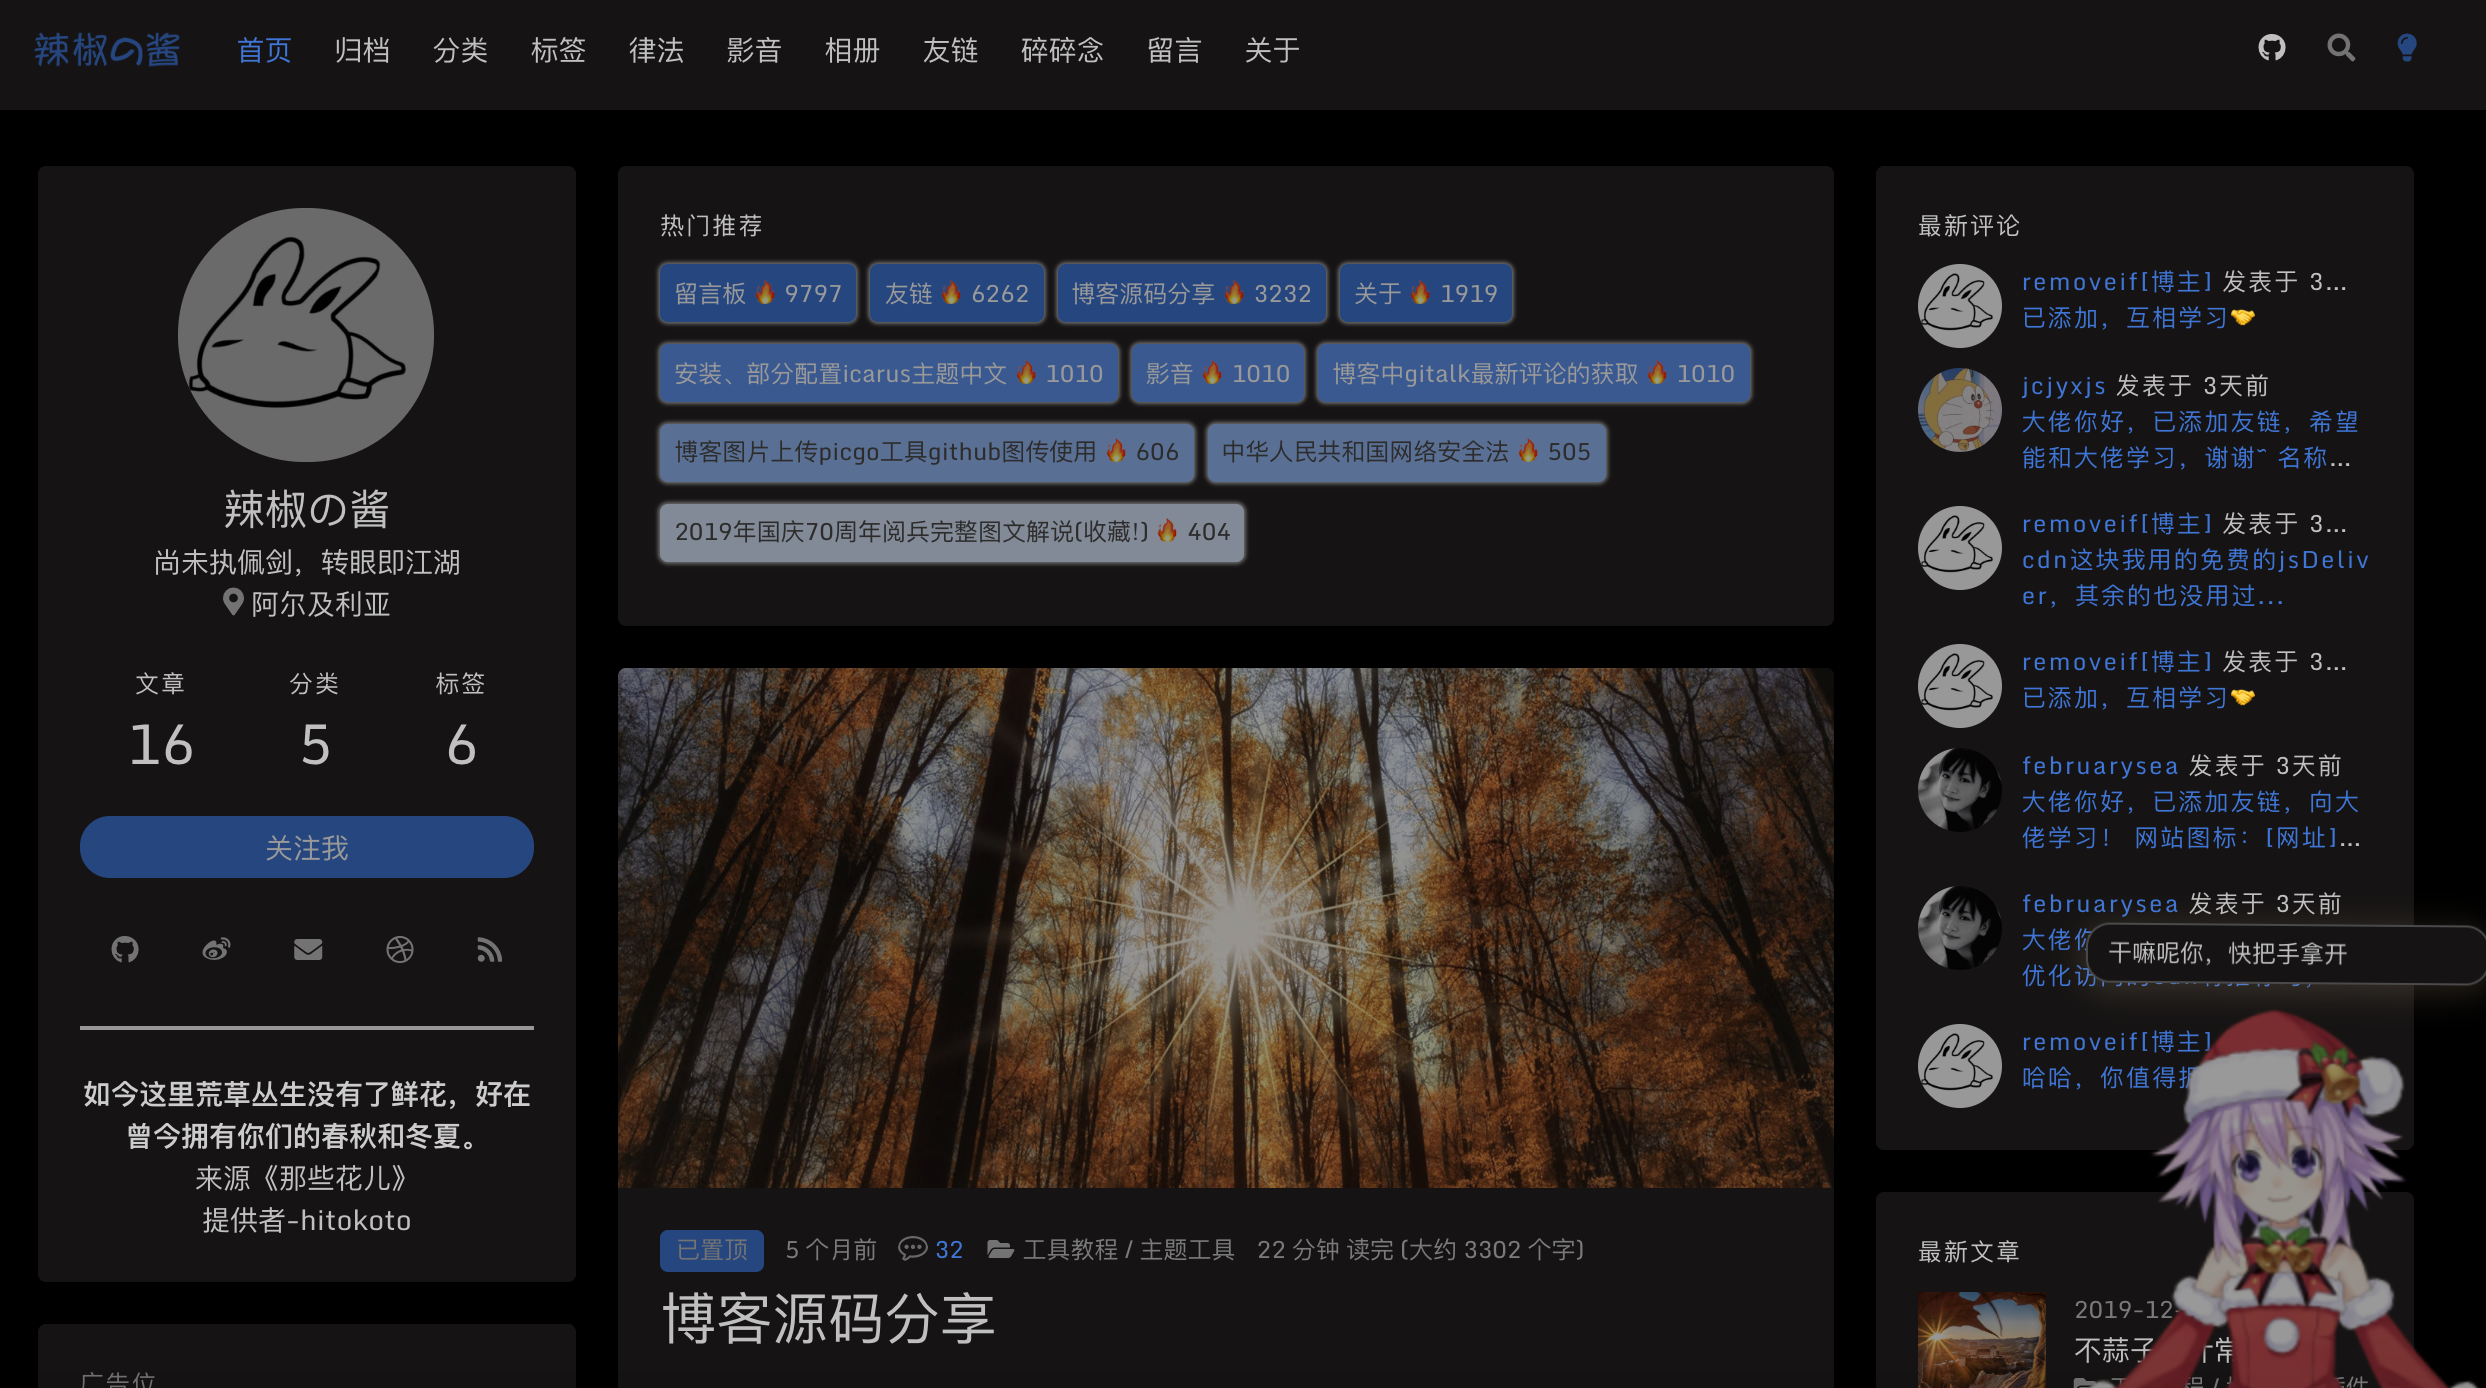
博客快照:
- 深色主题
- 置顶

- 文章评论数
- 推荐文章模块

- 归档
- 留言

- 友链
- 美图

- 影音
- 关于
提供hexo博客目录下依赖包 package.json
1
2
3
4
5
6
7
8
9
10
11
12
13
14
15
16
17
18
19
20
21
22
23
24
25
26
27
28
29
30
31
32
33
34
35
36
37
38
39
40
41
42
| {
"name": "hexo-site",
"version": "3.0.0",
"private": true,
"scripts": {
"build": "hexo generate",
"clean": "hexo clean",
"deploy": "hexo deploy",
"server": "hexo server"
},
"hexo": {
"version": "4.2.0"
},
"dependencies": {
"ajv": "^6.10.2",
"bulma-stylus": "0.8.0",
"deepmerge": "^4.2.2",
"hexo": "^4.2.0",
"hexo-blog-encrypt": "^3.0.3",
"hexo-deployer-git": "^2.1.0",
"hexo-generator-archive": "^1.0.0",
"hexo-generator-category": "^1.0.0",
"hexo-generator-feed": "^2.2.0",
"hexo-generator-index": "^1.0.0",
"hexo-generator-tag": "^1.0.0",
"hexo-log": "^1.0.0",
"hexo-pagination": "^1.0.0",
"hexo-renderer-ejs": "^1.0.0",
"hexo-renderer-inferno": "^0.1.1",
"hexo-renderer-marked": "^2.0.0",
"hexo-renderer-stylus": "^1.1.0",
"hexo-server": "^1.0.0",
"hexo-util": "^1.8.0",
"inferno": "^7.3.3",
"inferno-create-element": "^7.3.3",
"js-yaml": "^3.13.1",
"moment": "^2.22.2",
"save": "^2.4.0",
"semver": ">=5.0.0"
}
}
|